


Building an Ecommerce Store with WooCommerce on WordPress
Building an Ecommerce Store with WooCommerce on WordPress
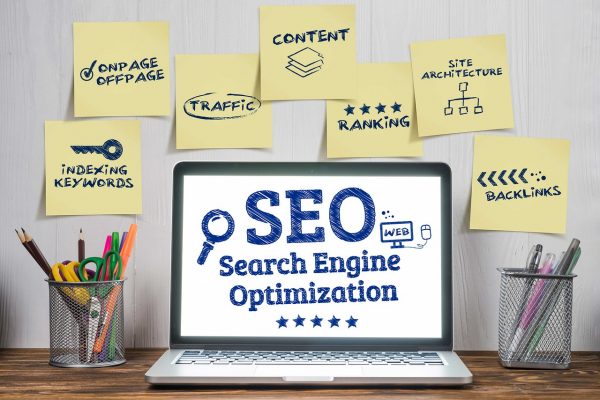
Are you ready to dive into the world of ecommerce and bring your business dream to life? If you've been contemplating this move, you're in luck! Today, I'm going to walk you through building a robust ecommerce store using WooCommerce, the powerhouse of ecommerce plugins for WordPress. Trust me, this journey can seem daunting at first—but with a little guidance, it turns into a rewarding and even exhilarating experience.
Setting Up WooCommerce and Configuring Settings
Let's start at the very beginning—a very good place to start, as they say. First things first, you'll need a WordPress site. If you haven't got one set up yet, that’s your first step. Once your WordPress site is ready and rearing to go, it's time for the main act: installing WooCommerce.
Head over to your WordPress dashboard, navigate to the Plugins section, and click on "Add New." In the search box, type "WooCommerce," and in just a few seconds, you'll see the WooCommerce plugin appear. Click on "Install Now," and once that's done, hit "Activate." Voila! You've taken the crucial first step in setting up your ecommerce powerhouse. For a comprehensive guide, you might want to check out our step-by-step guide to setting up WooCommerce.
Now comes a bit of tinkering with settings—think of it as putting the finishing touches on a new car. WooCommerce will guide you through a setup wizard. This handy tool helps configure some basic settings like your store's location, currency, and tax preferences. This is where your store starts to take shape and personality.
But why stop there? WooCommerce offers a myriad of customization options to personalize your store. Spend time diving into the settings—play around with them. Experiment! This is the creative part, where your vision starts to crystallize. If you're interested in enhancing your store's design, consider using WooCommerce shortcodes.
Adding and Managing Products
Once your store's foundation is solid, it’s time for the exciting showcase of your ace products. Adding products in WooCommerce is refreshingly straightforward. Go back to your WordPress dashboard, hover over "Products," and select "Add New." For a detailed walkthrough, see our guide on adding products to WooCommerce.
Here's where your storytelling skills come into play. Describe each product in detail, highlighting features and benefits. What makes it special? Why should buyers choose this over something else? Remember, your product description is often the closest a customer will get to seeing it in person in an online store, so make it count!
But it doesn’t stop with descriptions. You can also upload product photos that make your items pop. Remember, a picture is worth a thousand words, and in ecommerce, it might just be worth a thousand dollars!
And let’s not forget product categories and tags—these help organize your inventory and make navigation a breeze for your customers. Imagine shopping in a supermarket where everything is jumbled up. Confusing, right? Categories and tags are your friends in avoiding this chaos. For more tips on improving user experience, consider reading about setting up product filters.
Integrating Payment Processors and Handling Shipping
Let's talk money—a topic that's both exciting and nerve-racking. Integrating payment processors is a step you want to get right, simply because, without it, all your hard work won’t translate into sales. WooCommerce supports various payment gateways such as PayPal, Stripe, and even direct bank transfers. Choose one or multiple, depending on what best suits your audience. For a deeper dive into setting these up, explore our article on WooCommerce payment gateways.
Integrating these gateways into your store is simpler than pie. You'll find a "Payments" tab within WooCommerce settings. Click on it, and then simply enable and configure the payment methods you want your store to accept. Make sure you test these payment methods thoroughly before going live. There's nothing like a hiccup in the payment process to scare away potential customers.
Now, onto handling shipping, which can be as crucial as efficiently processing payments. Shipping settings in WooCommerce give you the flexibility to set flat rates, offer free shipping, or even real-time calculations from carriers like USPS or FedEx. Shipping zones and classes allow you to tailor these settings to different locations and product types, which can significantly enhance the customer experience. For a comprehensive guide, check out setting up shipping options in WooCommerce.
Ever thought about how Amazon set the bar with their shipping processes? It’s time for your store to meet—or even exceed—those expectations! Ensure your shipping processes are as streamlined and transparent as possible. Your customers will thank you for it, and your return rate might just plummet.
Conclusion and Call-to-Action
Building an ecommerce store with WooCommerce on WordPress is more than just a technical endeavor—it's a creative journey that melds your business acumen with your artistic vision. By setting up WooCommerce, managing your products like a pro, and seamlessly integrating payments and shipping, you're setting your business on a solid path to success.
Of course, the world of ecommerce is as dynamic as it gets, with trends and technologies evolving at a rapid pace. But don't let that be a hurdle; let it excite you! Keep learning, keep evolving, and most importantly, keep listening to your customers.
Now, it’s your turn. You’ve got the blueprint. It’s time to roll up your sleeves and build something beautiful. If you’ve always wondered whether you could pull off managing your own online store, I'm here to say you absolutely can. What's stopping you? Dive in, make it happen, and perhaps someday soon, your store will be the one setting the bar for others.


